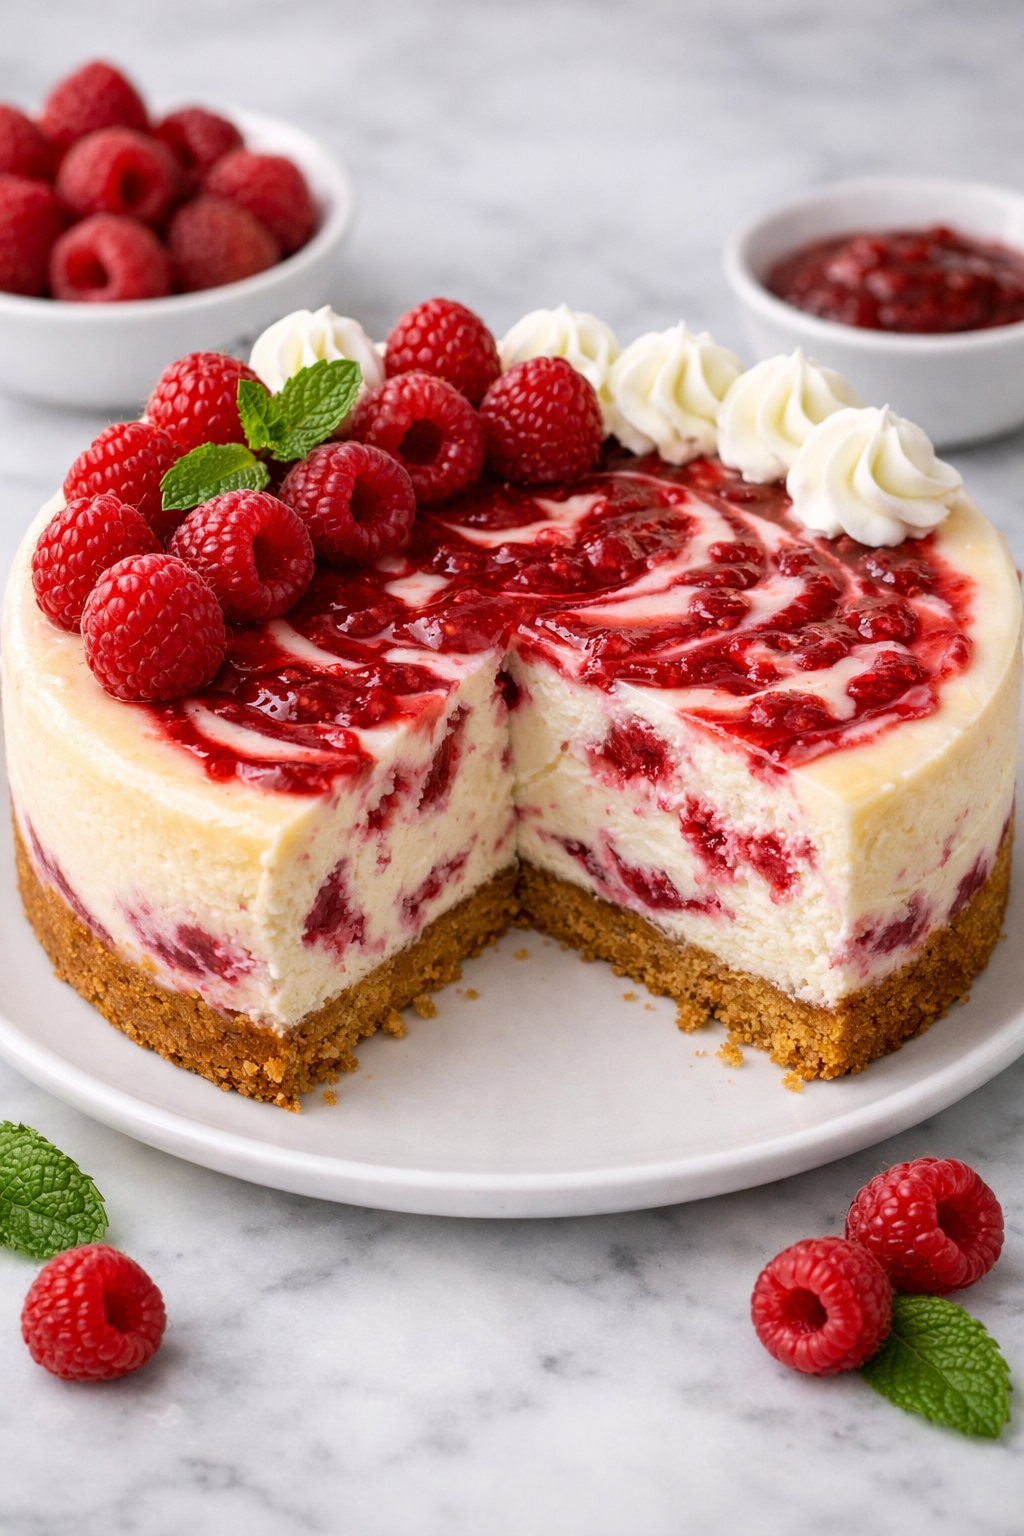
Raspberry cheesecake is the kind of dessert that feels elegant the moment it hits the table. The creamy cheesecake base, the bright raspberry flavour, and the crunchy crust work together beautifully. The best part? You don’t need professional baking skills or expensive tools to make it at home. This recipe is designed to be simple, reliable, and rich in flavour—perfect for family dinners, small celebrations, or weekend treats.

Table of Contents
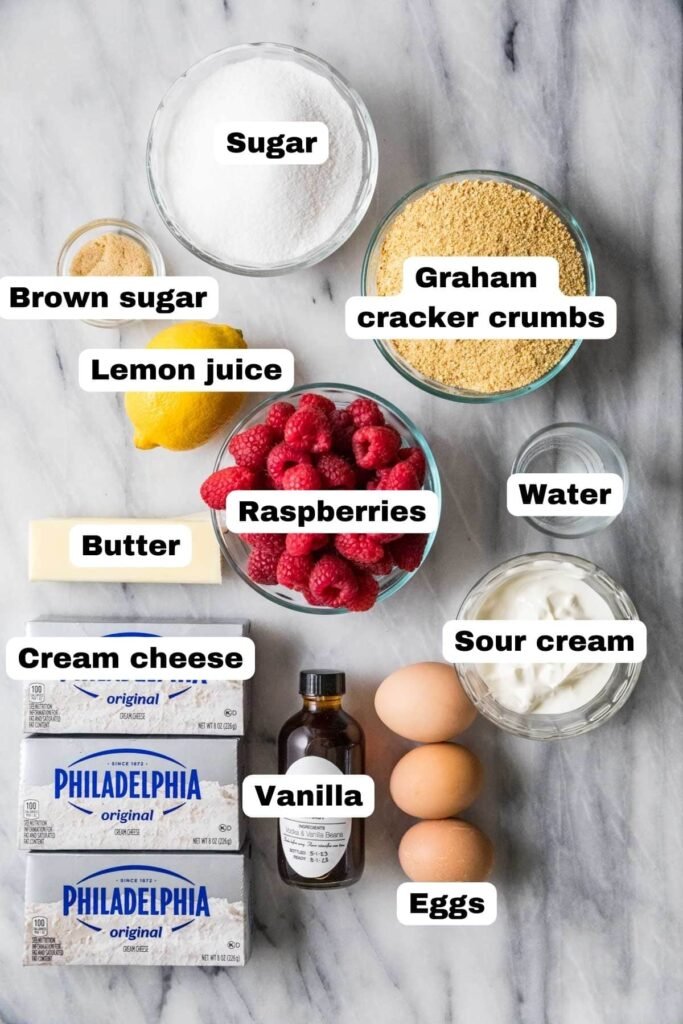
Ingredients You’ll Need
For the crust
- Graham cracker crumbs – 1½ cups
- Melted butter – 6 tablespoons
For the cheesecake filling
- Cream cheese (softened) – 24 oz
- Granulated sugar – 1 cup
- Vanilla extract – 1 teaspoon
- Eggs – 3 large
- Sour cream – ½ cup
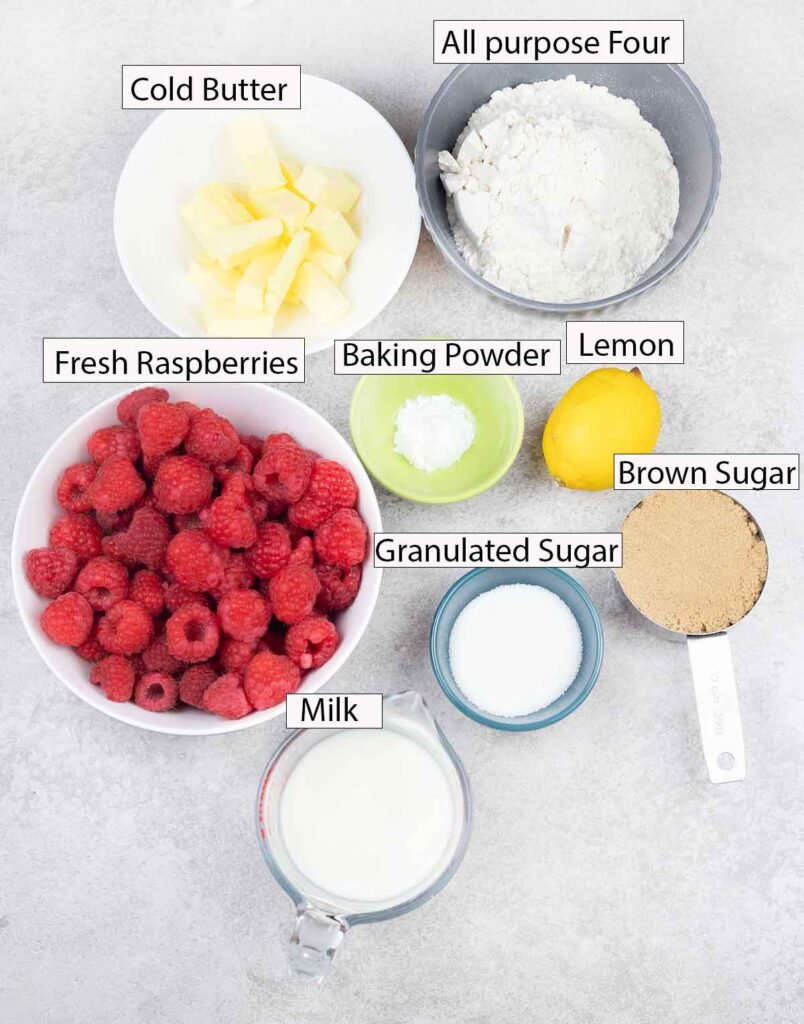
For the raspberry swirl
- Fresh raspberries – 1 cup
- Raspberry jam – ⅓ cup
- Cornstarch – 1 tablespoon
Step-by-Step Cooking Instructions
Making raspberry cheesecake at home becomes stress-free when you follow each step slowly and carefully. Don’t rush—cheesecake loves patience.
Step 1: Prepare the Crust
Preheat your oven to 325°F (165°C). Mix graham cracker crumbs with melted butter until the texture looks like wet sand. Press firmly into the base of a springform pan. Bake for 10 minutes, then set aside to cool.
- Preheat your oven to 325°F (165°C)
- In a bowl, mix graham cracker crumbs with melted butter
- Stir until the crumbs look like wet sand
- Press the mixture firmly into the bottom of a springform pan
- Use the back of a spoon or a glass to create an even layer
- Bake for 10 minutes, then remove and let it cool
Helpful tip: A well-packed crust prevents crumbling when slicing.
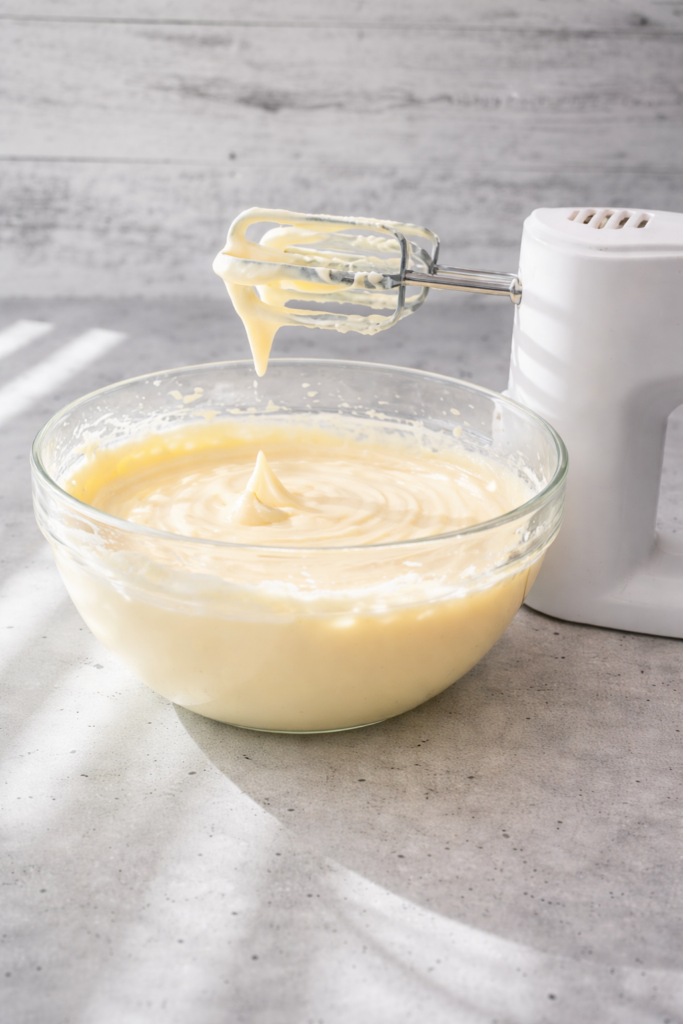
Step 2: Make the Cheesecake Filling
In a large bowl, beat the cream cheese until smooth and lump-free. Add sugar and mix until creamy. Add eggs one at a time, mixing gently. Stir in vanilla and sour cream until just combined. Avoid over-mixing to keep the cheesecake silky.
- Add softened cream cheese to a large bowl
- Beat until smooth and creamy (no lumps)
- Slowly add sugar and mix until fully combined
- Add eggs one at a time, mixing gently after each
- Stir in vanilla extract and sour cream
Important:
- Do not overmix
- Overmixing adds air and can cause cracks later
Step 3: Prepare the Raspberry Swirl
In a small pan, add raspberries, jam, and cornstarch. Cook on medium heat until the mixture thickens and the berries soften. Let it cool slightly before using.
- Add raspberries, jam, and cornstarch to a small saucepan
- Cook over medium heat while stirring
- Mash the raspberries gently as they soften
- Cook until the sauce thickens slightly
- Remove from heat and let it cool for a few minutes
Optional:
- Strain the sauce if you prefer a smooth swirl without seeds
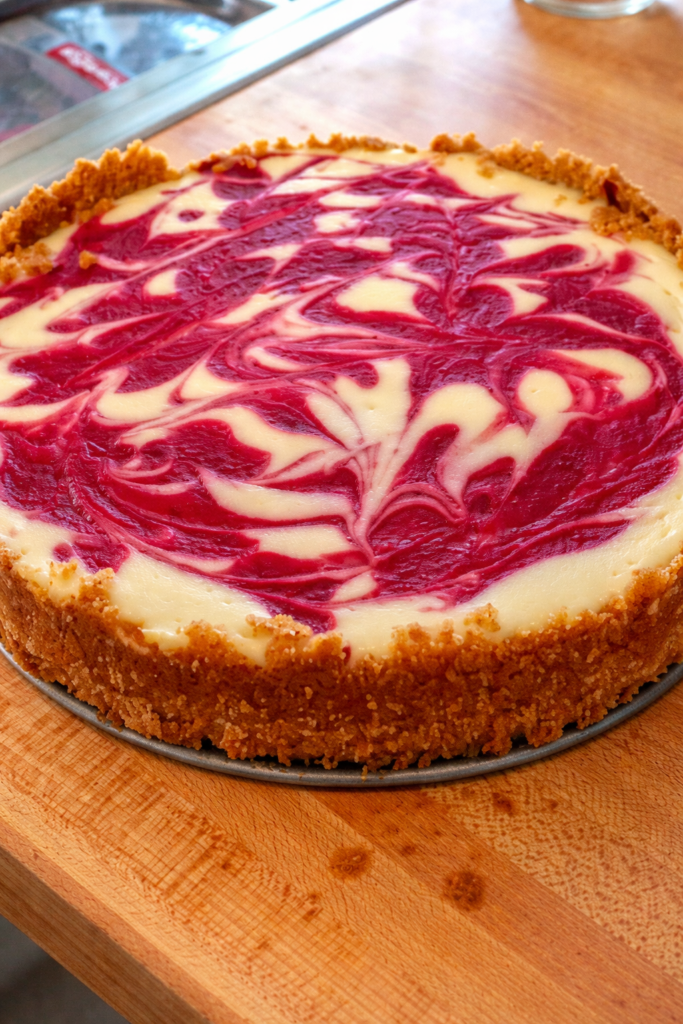
Step 4: Assemble the Cheesecake
Pour half the cheesecake batter over the crust. Add spoonfuls of raspberry sauce and gently swirl with a knife. Repeat with the remaining batter and sauce.
- Pour half of the cheesecake batter onto the cooled crust
- Spoon small drops of raspberry sauce on top
- Use a knife or toothpick to gently swirl
- Add the remaining batter evenly
- Top with the remaining raspberry sauce
- Swirl again for a beautiful marbled look
Tip: Light swirling looks better than over-mixing the design.
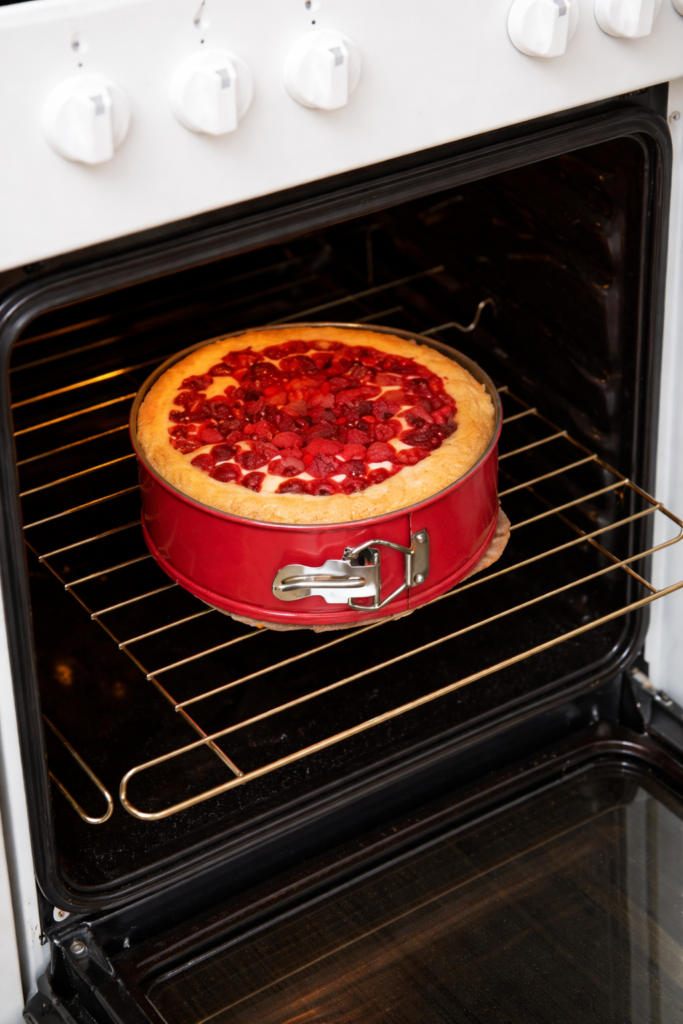
Step 5: Bake Slowly and Gently
Place the pan on a tray with a little water (water bath helps prevent cracks). Bake for 55–60 minutes, until the centre is slightly jiggly. Turn off the oven, crack the door open, and let it rest for 1 hour. Chill for at least 4 hours before serving.
- Place the cheesecake pan on a baking tray
- Add a little hot water to the tray (water bath helps prevent cracks)
- Bake for 55–60 minutes
- The edges should look set, but the centre should slightly jiggle
Step 6: Cool the Cheesecake Properly
- Turn off the oven
- Crack the oven door open slightly
- Leave the cheesecake inside for 1 hour
- Remove and let it cool at room temperature
Why this matters:
Sudden temperature changes can cause cracking.
Step 7: Chill Before Serving
- Refrigerate for at least 4 hours (overnight is best)
- This helps the cheesecake fully set and develop flavour
Tips for Perfect Results
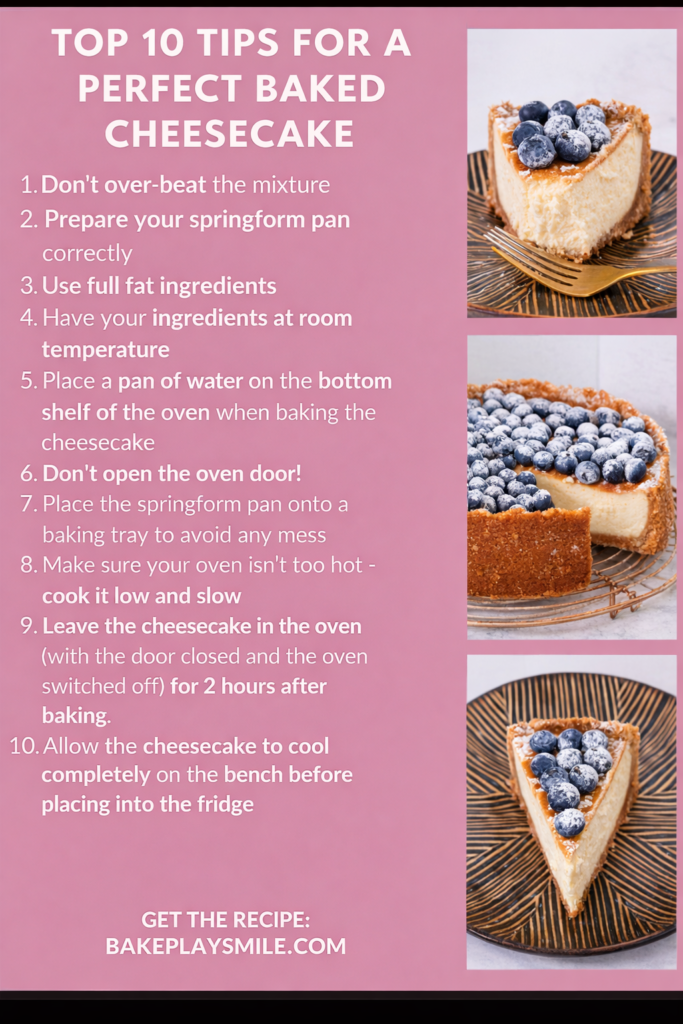
- Always use room-temperature cream cheese
- Do not over-beat the batter
- Let the cheesecake cool slowly
- Chill overnight for the best texture
Easy Custom Variations
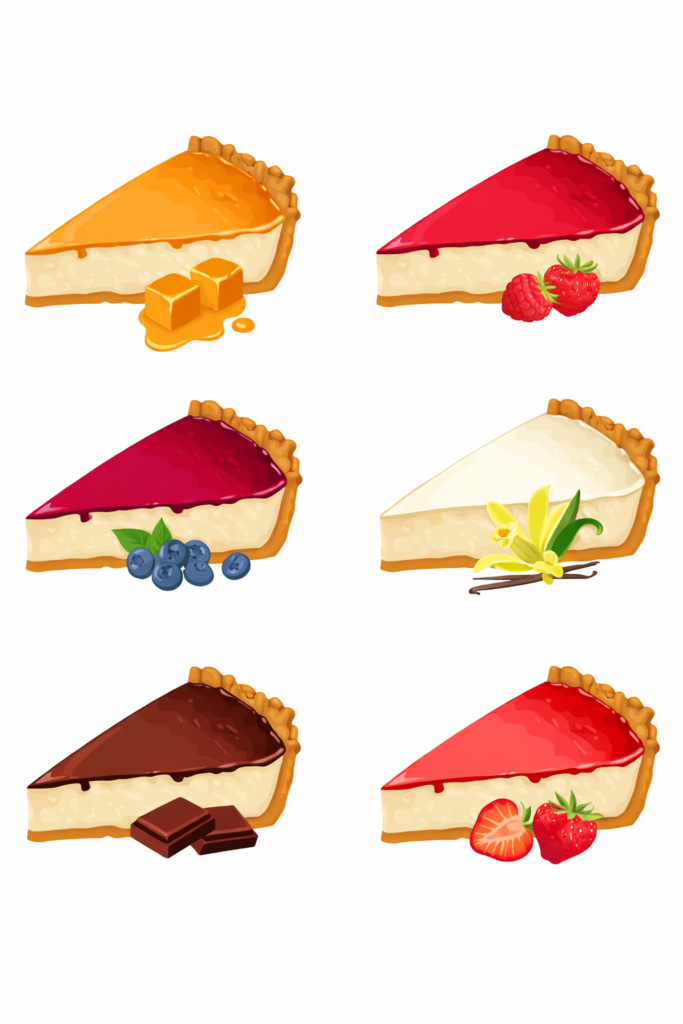
This raspberry cheesecake is very flexible, so you can adjust it to match your taste or the occasion without changing the main method.
Chocolate Lover’s Twist
- Use chocolate cookie crumbs instead of graham crackers
- Add a light chocolate drizzle on top after chilling
Perfect if you enjoy rich, dessert-shop flavors.
Lemon Raspberry Cheesecake
- Add 1–2 tablespoons fresh lemon juice to the batter
- Sprinkle a little lemon zest for a brighter, fresher taste
This version tastes lighter and less sweet.
Naturally Sweetened Option
- Replace raspberry jam with fresh raspberries + honey or maple syrup
- Gently cook until thick before swirling
Great for those who prefer less processed sugar.
Ultra-Smooth Fruit Swirl
- Strain the raspberry sauce to remove seeds
- Swirl gently for a clean, bakery-style finish
This makes the cheesecake look extra polished and professional.
Nutrition (Approx. Per Slice – 12 slices)
- Calories: ~360
- Fat: 24g
- Carbohydrates: 28g
- Protein: 6g
- Sugar: 21g
- Fibre: 1g
This dessert is rich, so smaller slices are usually enough to satisfy cravings.
Serving Ideas
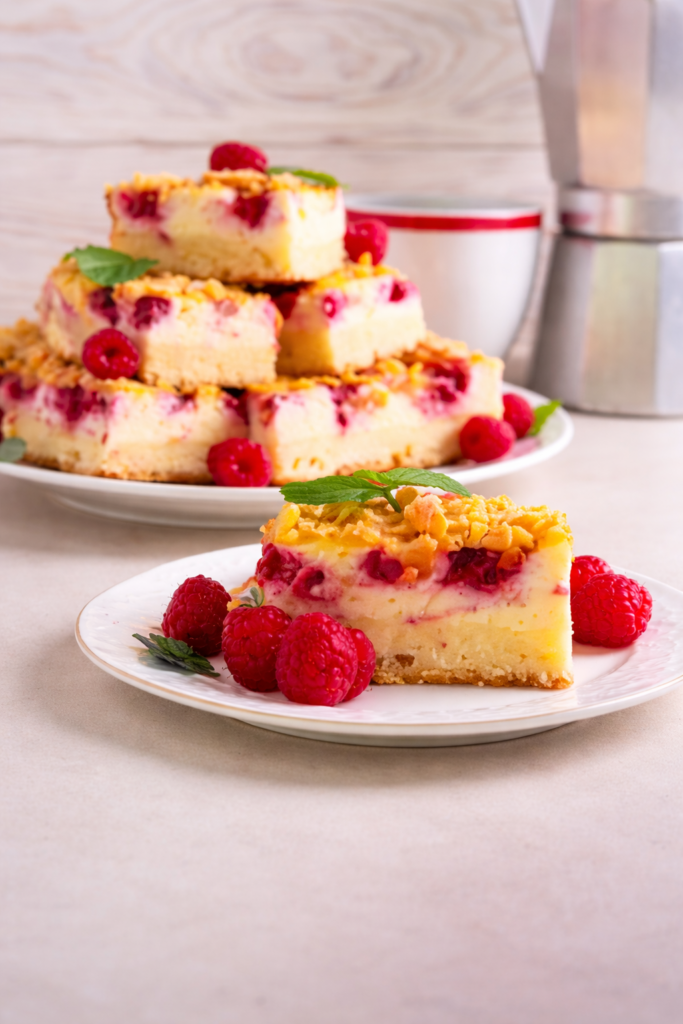
- Serve chilled with fresh raspberries on top
- Add whipped cream for a bakery-style look
- Pair with tea, coffee, or cold milk
- Cut into small squares for parties and dessert platters
Further Reading You May Need
Conclusion
This raspberry cheesecake delivers restaurant-style flavour without complicated steps. It’s creamy, smooth, lightly tangy, and visually stunning with its raspberry swirls. Whether you’re baking for guests or treating yourself, this recipe is simple enough for beginners yet impressive enough to feel special. Add it to your dessert rotation—you’ll come back to it again and again.